

We love to preserve our summer bounty for the winter months when the growing season is done. Sweetcorn is a big priority for meals in our family. It takes about 6 to 8 ears of corn to fill one QUART FREEZER bag. If you want to preserve with the best flavor and taste, follow the steps below. This process involves a few hours of dedication with your friends and family to help. It is well worth it.
STEP 1: Obtain the freshest corn. At Paige's we pick corn in the evening or early morning, so our customers get the freshest available. It is best to get your corn processed within 24 hours, so if you can't do it at the time of purchase, you MUST keep the corn husk on and in a cool place (refrigerator is optimal). If you get more than a few dozen, that might not be an option. so any cool dark place is fine. When ready to "shuck" the corn, have a clean large tub ready to hold the ears before cooking. Pull off the husk starting at the silks. If there is a large stem at the base, break it off. Remove silks with vegetable brush.
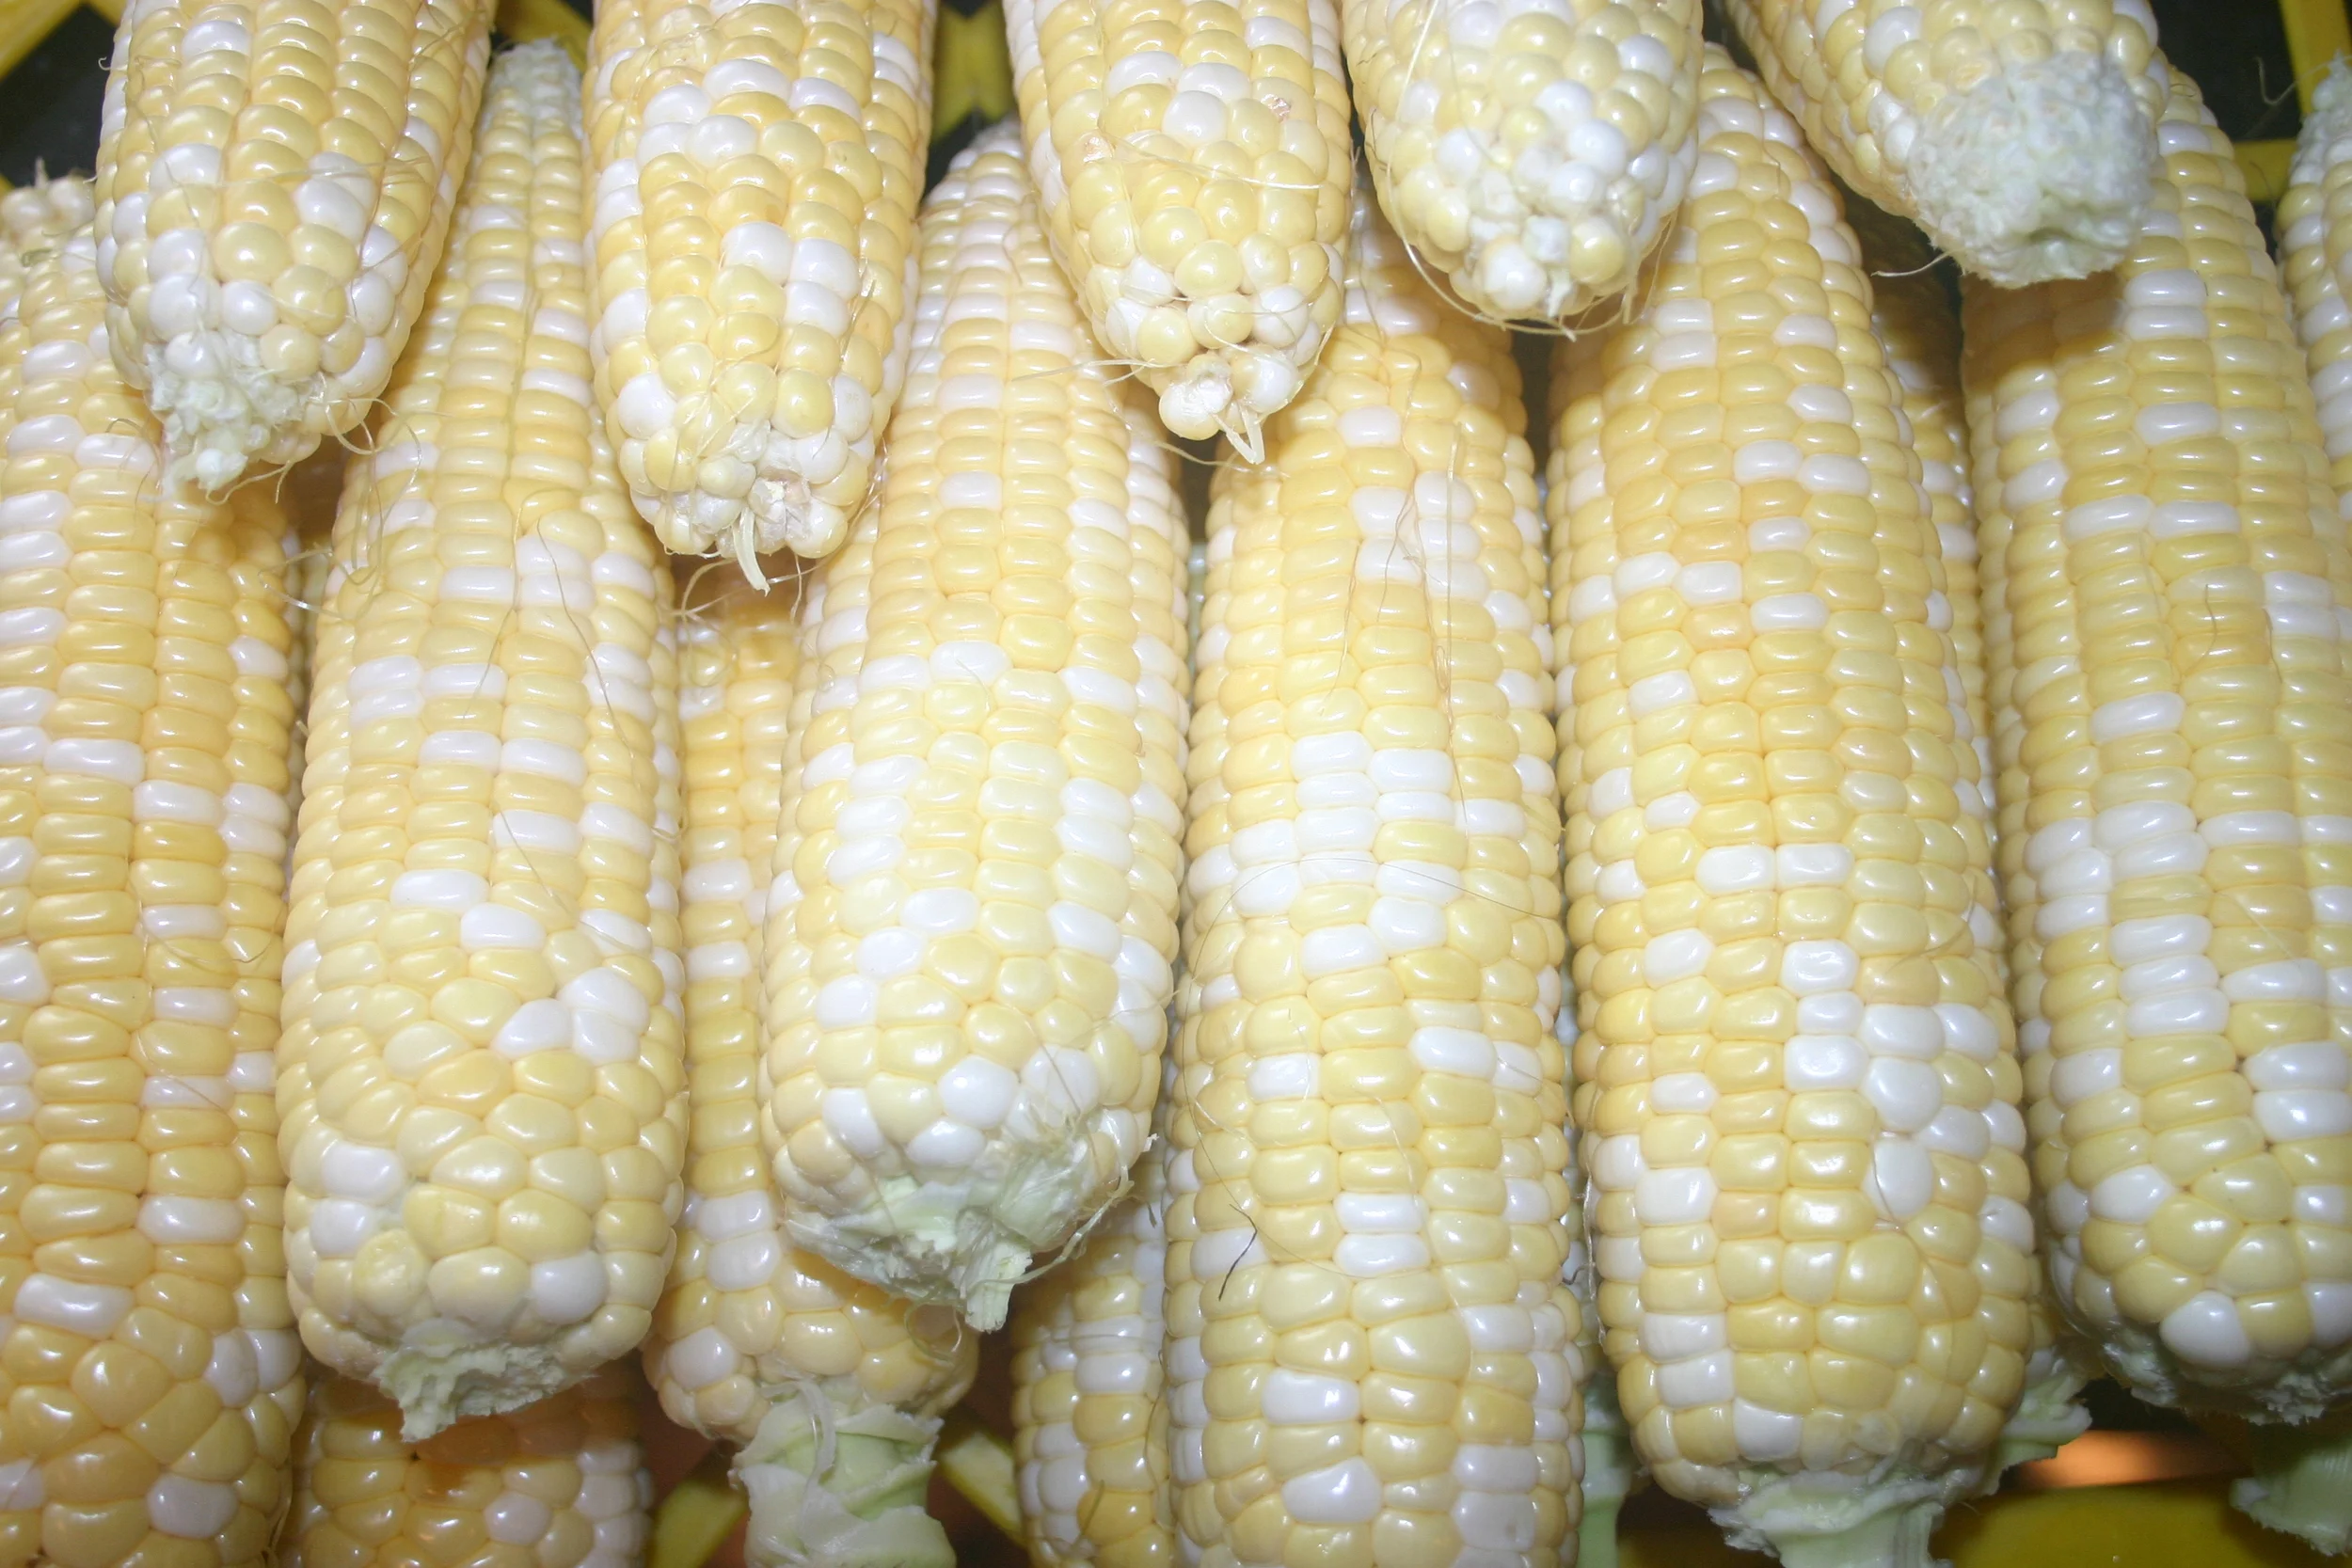
Step 1: Shucked corn, ready to boil
Step 2: Prepare a boiling pot of water. I use a "dutch oven" size, that is enough to hold about half a gallon of water and cover 6 large ears of corn. Once the water comes to a "rolling boil", carefully place the corn in for 4-6 minutes. This short boil is called blanching. This helps preserve the sweetness and nutrients by stopping the enzymes from turning the natural sugar into starch. You will find different resources say to blanch longer for large ears/kernels, but I find that the longer boiling makes the corn chewy, tough, and starchy.. You may need to keep adding water as the level will go down after several loads.
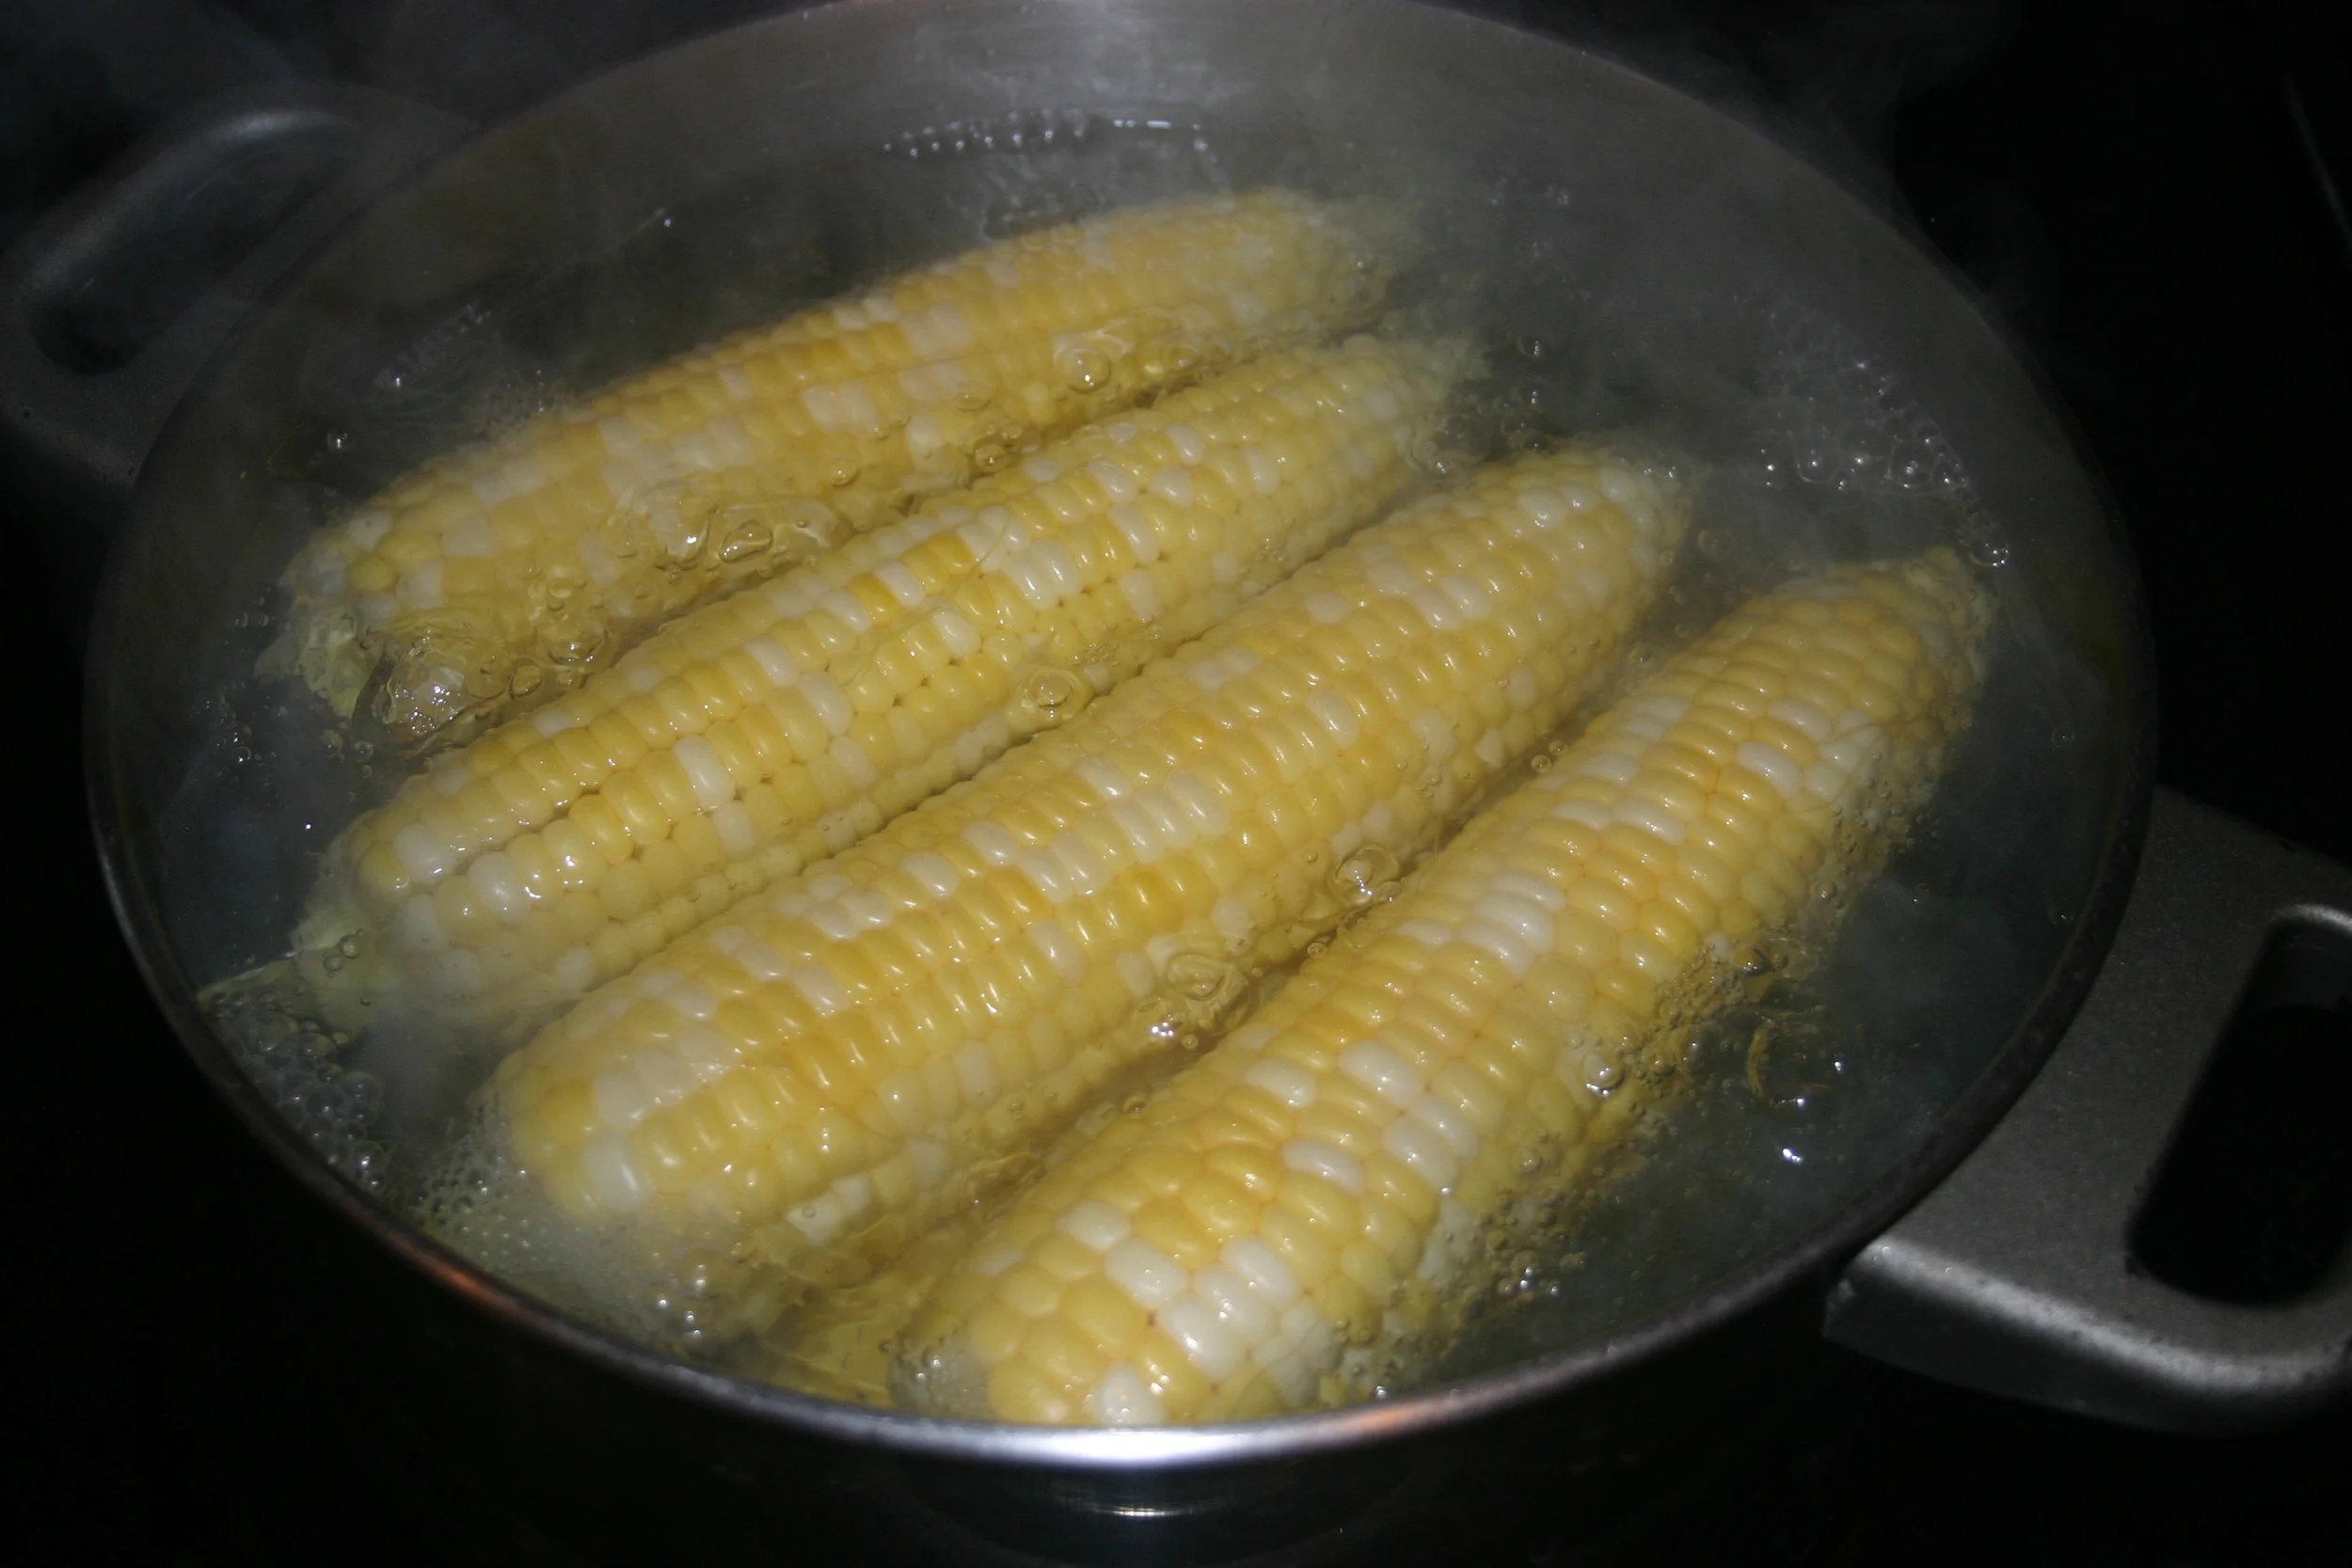
Corn in a rolling boil
STEP 3: Using tongs ( or if you have a blanching basket) immediately cool the corn in a pan/tub/sink of cold water. Sometimes I even use ice to cool it faster. This prevents overcooking.

Coldwater bath
STEP 4: Have a casserole dish or something that size and a sharp knife. Cut the kernels about 1/2 to 3/4 of the depth of kernel. Try not to cut the cob as it is not a pleasant texture. Then if you wish to get every morsel of goodness out of that baby, turn your knife to the dull side and "milk" it. This gets rest of the that juicy kernel onto your plate. Some folks call this cream style. I just call it, not wasting anything :)

Corn cut with knife.

Corn "milked"
STEP 5: Scoop up the corn and place it into your freezable container of choice. Back in the day I used quart containers with lids because that is what mom used. But for many years now I have preferred the freezer ziploc style. Some of our customers love to use their vacuum seal bags. Its up to you. Just label it.
STEP 6: Place these little presents to yourself in the freezer to enjoy within the next year.

Corn in freezer
